Minor SSP modifications, part 2 – Changing the default urgency of an incident

May 8, 2011 Posted by Anders Asp

Part 1 – Preperations: http://www.scsm.se/?p=398

Disclaimer: I’m not a developer and this is all new to me as well. All code is provided “as is” and I do not give any warranties or take any responsible for any errors that might occur.

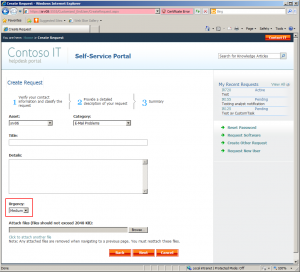
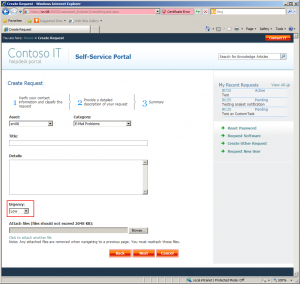
So in this post we’re going to do our first modifications to the SSP, and the goal of todays post will be to change the default value of the urgency dropdown to Low (the defualt out-of-the-box value is Medium).

  1. Start Visual Studio and open the Portal.sln that was extracted from the PortalSource-New.zip in step 5 in Part 1 of the series.
  2. Next we need to locate the file in which the code related to this dropdown is stored. With the help of the documentation that was bundled with the source code (System Center Service Manager 2010 Custom Portal Development.docx), I managed to figure out that it is stored in the file named CreateRequest.cs.
  3. So browse the Solution Explorer on your right hand side of Visual Studio for CreateRequest.cs. It should be located at WebParts/Request/CreateRequest.cs. When you found the file, double click it to open it up.
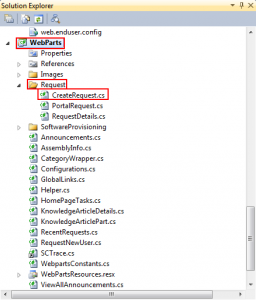
  4. Most of the code related to the “Create Other Request” wizard is located in this file. Unfortunately there is more than 2600 lines of code in this file, so what should we do to find the part regarding the urgency dropdown? Let’s start with searching for the word “Urgency” (Hit Ctrl+F to open up the search window). Our first search should bring you to a line of code that says:
    private Label urgencyHeaderLabel;

    This is the declaration of a variable that seems to be the label of the Urgency part of the wizard. But what’s more interesting, is the line below:

    private DropDownList urgencyDropDownList;

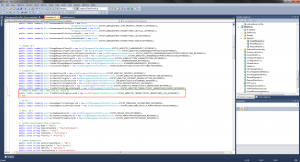
    Great! Now we found the declaration of what looks like the dropdown menu of Urgency. Now let’s continue to search, but this time search for “urgencyDropDownList” instead.Our first hit of  “urgencyDropDownList” is actually where the control itself is added to the wizard. But there’s no hints regarding the default value…It turns out, that there’s plenty of code regarding the urgencyDropDownList, but continue to search until you hit line 2213 (current line is showed in the bottom right hand corner in the status bar, displayed as “Ln”).
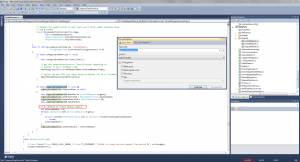
    Now that’s a great hint! Thanks for putting those comments in the code Microsoft! 🙂

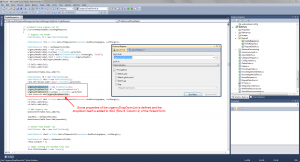
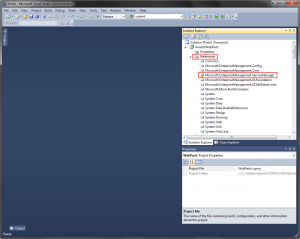
  5. Take a look at the picture below. I’ve tried to explain the code within the picture. However, the key part of this modification, is to change the part of the code that says:
    if ((Guid)item[DataItemConstants.Id] == Constants.TroubleTicketUrgencyMediumId)
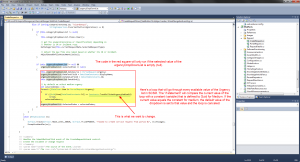
    Unfortunately,we can’t just replace the Constants.TroubleTicketUrgencyMediumId with Constants.TroubleTicketUrgencyLowId. We need to define Constants.TroubleTicketUrgencyLowId first.

  6. So where and how should we declare this constant? Let’s take a look at how Microsoft have declared TroubleTicketUrgencyMediumId. To do so, click the word “TroubleTicketUrgencyMediumId” once to put your marker on it, then press F12 which will bring you to the definition of this variable.That should take you to the Constants.cs file and to a line that looks like this:
    public static readonly Guid TroubleTicketUrgencyMediumId = new Guid(ManagementPackReferences.SYSTEM_WORKITEM_TROUBLETICKET_URGENCYENUM_MEDIUM_REFERENCE);


    So the declaration of TroubleTicketUrgencyMediumId is done here, but is referenced to another constant? Click SYSTEM_WORKITEM_TROUBLETICKET_URGENCYENUM_MEDIUM_REFERENCE to put your marker there, and press F12 to go to the definition…

    public const string SYSTEM_WORKITEM_TROUBLETICKET_URGENCYENUM_HIGH_REFERENCE = "2F8F0747-B6CB-7996-FD4A-84D09743F218";
    public const string SYSTEM_WORKITEM_TROUBLETICKET_URGENCYENUM_LOW_REFERENCE = "725A4CAD-088C-4F55-A845-000DB8872E01";
    public const string SYSTEM_WORKITEM_TROUBLETICKET_URGENCYENUM_MEDIUM_REFERENCE = "02625C30-08C6-4181-B2ED-222FA473280E";

    Aha. In the ManagementPackReferences.cs within the Microsoft.Mom.BuildConstants.dll, the Out-of-the-box GUIDs for the different levels of urgency is stored.

  7. With this knowledge, let’s get back to the Constants.cs file, and add a new constant for Low urgency. Add a new line undernethe line 55, and enter:
    public static readonly Guid TroubleTicketUrgencyLowId = new Guid(ManagementPackReferences.SYSTEM_WORKITEM_TROUBLETICKET_URGENCYENUM_LOW_REFERENCE);


  8. Now get back to the CreateRequest.cs file and change Constants.TroubleTicketUrgencyMediumId to Constants.TroubleTicketUrgencyLowId on line 2225. This will work because we have defined a value for TroubleTicketUrgencyLowId in the constants.cs file now.
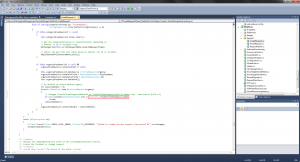
  9. That should be all coding required for this change. So press F6 to build your solution, and make sure that you get Build Succeeded in the lower left hand corner of the screen.
  10. Head to the directory in which the project is stored, and locate the ..\End User Portal\bin folder. In that folder, find and copy all .DLL files that was updated when you built your solution.
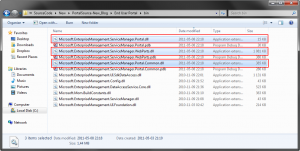
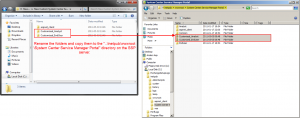
  11. Now head to the SCMS SSP server, and paste those .DLL files in the C:\inetpub\wwwroot\System Center Service Manager Portal\Customized_EndUser\Bin directory. You will get prompted with a question asking if you would like to overwrite the current .DLLs, answer Yes.
  12. Open Internet Explorer and browse to your Customized_EndUser. Click the “Create Other Request” button followed by Next. Step 2 of the wizard should now be displayed, and so should the Urgency dropdown. The default value should now be set to Low.
  13. And that’s it! We are done for today 🙂

I’d love any comments regarding this. Is these types of articles helpful? Are they too easy? Too hard? Are there any kind of minor modifications you would like me to post about?
Minor SSP modifications, part 1 – Preperations

May 7, 2011 Posted by Anders Asp

The source code for the Self-service Portal (SSP) has been released for a while and along with the code you got the option to use an upgraded version of the portal. This upgraded version includes a completly new look, a couple of bug fixes and some new features.

Official blogpost regarding the SSP source code can be found here:
http://blogs.technet.com/b/servicemanager/archive/2011/03/02/service-manager-portal-source-code-released.aspx

That is all great, but there might still be some minor things that you want to change with the portal, and that’s why I’m starting this series of blogposts regarding minor modifications of the SSP. Before we start, I just want to add a disclaimer: I’m not a developer and this is all new to me. All code is provided “as is” and I do not give any warranties or take any responsible for any errors that might occur.

Before I start this series of blogposts “for real”, we need to make sure that you have made any preperations required to follow the serie.

1. Install Visual Studio (I will be using Visual Studio 2010 in this serie)
2. Download the SSP source code and extract the files (http://www.microsoft.com/downloads/en/details.aspx?FamilyID=65fbe0a3-1928-469f-b941-146d27aa6bac&displaylang=en)
3. Since we will be working with the upgraded version of the portal, we need to deploy it into our test/lab/development environment.
3.1. Locate the zip-file containing the updated SSP (..\SCSM2010SP1PORTALSOURCERELEASE\NewExamplePortal.zip) and extract the files.
3.2 Browse the extracted files and rename the EndUser folder to Customized_EndUser and Analyst to Customized_Analyst.
3.3 Copy Customized_EndUser and Customized_Analyst to %systemDrive%\inetpub\wwwroot\System Center Service Manager Portal\ on your SSP server in your test/lab/development environment.

Copy files to SSP

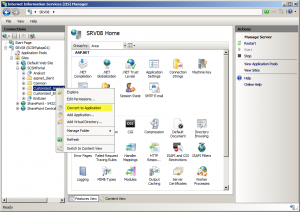
3.4 Open IIS Manager and locate the SCSMPortal. Now, right click the Customized_EndUser folder and choose Convert to application. Repeat for the Customized_Analyst folder.

Convert to application

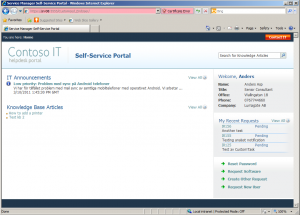
4. Open Internet Explorer and browse https://<SERVERNAME>/customized_enduser. If everything was done correctly, the updated SSP should now be displayed.

Updated SSP

5. Locate the zip-file containing the source code for the new portal, and extract it (..\SCSM2010SP1PORTALSOURCERELEASE\SourceCode\New\PortalSource-New.zip)
6. Copy the reference binaries listed below from %systemDrive%\inetpub\wwwroot\System Center Service Manager Portal\EndUser\bin\on the SSP server into the ..\SCSM2010SP1PORTALSOURCERELEASE\SourceCode\New\PortalSource-New\Common folder in the Visual Studio solution.  These assemblies can then be used to resolve the VS project assembly references.
– Microsoft.EnterpriseManagement.Config.dll
– Microsoft.EnterpriseManagement.UI.Foundation.dll
– Microsoft.EnterpriseManagement.UI.SdkDataAccess.dll
– Microsoft.Mom.BuildConstants.dll
– Microsoft.EnterpriseManagement.DataAccessService.Core.dll
– Microsoft.EnterpriseManagement.ServiceManager.dll
– Microsoft.EnterpriseManagement.ServiceManager.Portal.Common.dll
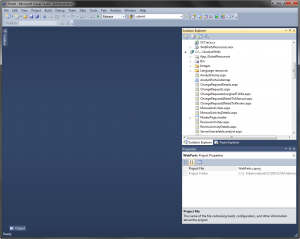
7. StartVisual Studio and open the project for the updated SSP. This file should be named Portal.sln and was extracted in step 5.

Visual Studio

7.1 On the right hand side in Visual Studio, you should have something called the Solution Explorer. This is where all the files related to this project is displayed. Some of these files need to be re-loaded and is therefore marked with a yellow exclamation mark. (All of these files should be in the different Reference folders in the Solution Explorer)

Exclamation mark

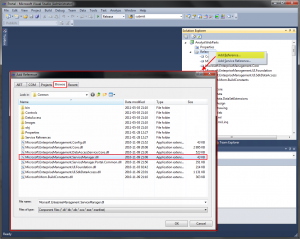
7.2 Note the name of the file with an exclamation mark, remove it from the project, and add it again. We copied all these files in step 6, so you should be able to find all the files needed on this path: ..\SCSM2010SP1PORTALSOURCERELEASE\SourceCode\New\PortalSource-New\Common. Repeat this step for all files with an exclamation mark.
(Take a look at the screenshot)

Add reference

8. When you’ve finished replacing all the broken references, we are actually finished with all the preparations. But as a final step, lets build our solution to make sure we won’t get any errors before we even got started with the modifications!
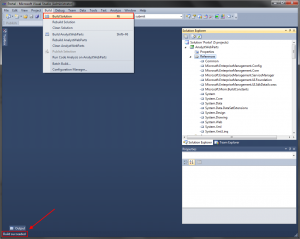
8.1 Build your solution by pressing F6 or by clicking Build Solution under Build in the main menu.
8.2 Make sure that “Build succeeded” is displayed in the status bar on the bottom of the left hand side of the screen.

Build

And that’s it. We’ve installed Visual Studio, “installed” the updated SSP and corrected the broken references in the Visual Studio project. We are now ready to begin editing some code!

Microsoft Community Contributor Award

April 28, 2011 Posted by Anders Asp

This morning when I went through my mailbox, I found a mail that started like this: 

Dear Anders,

Congratulations! We’re pleased to inform you that your contributions to Microsoft online technical communities have been recognized with the Microsoft Community Contributor Award.

I’m very proud and happy to recive such an award and I will do my best to continue to contribute to the SCSM community.
If you have any ideas for future blogpost or if you simply have som questions regarding SCSM, feel free to send me an e-mail (anders[at]scsm[dot]se) or write a comment here.
Information regarding MCC can be found here: https://www.microsoftcommunitycontributor.com/faq.aspx

Sorting a view by ID

April 24, 2011 Posted by Anders Asp

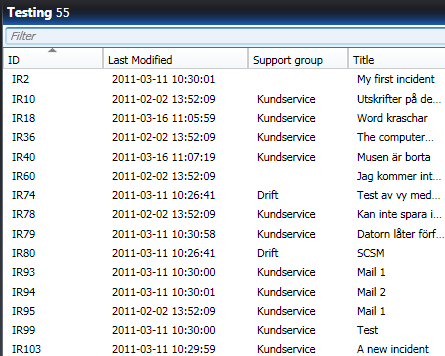
Have you ever tried to sort a view after the ID only to realise that it’s actually sorted alphabetically?
Sort by ID - Before

Sort by ID - Before

Now, you could use properties such as Created date to do a proper sort, but wouldn’t it be better if we could make the sorting of ID numerical instead?

That is actually possible and to do so you would have to start with exporting your MP in which the view is stored. Then open the MP and locate your view within the XML code, and take a look at the <columns> section. In the columns section, you should have a line that looks like this:

<mux:Column Name=”Id” DisplayMemberBinding=”{Binding Path=Id}” Width=”100″ DisplayName=”Id.9108474bffe74ec98f268d6e5f7b948b” Property=”Id” DataType=”s:String” />

Now to make the sorting to work ‘correctly’, all we need to do is changing the Property from “Id” to “Id$ReturnValueAsBigInt$”, like this:

<mux:Column Name=”Id” DisplayMemberBinding=”{Binding Path=Id}” Width=”100″ DisplayName=”Id.9108474bffe74ec98f268d6e5f7b948b” Property=”Id$ReturnValueAsBigInt$” DataType=”s:Int32″ />

After you’ve done this, save your MP, re-import it and restart your console. Now the sorting of ID in that view should be done in a numerical way instead of an alphabetic.

Sort by ID - After

Sort by ID - After

What’s new in Service Manager 2012 – Part 2

April 3, 2011 Posted by Anders Asp

So in my previous post I described some of the new features and functions in Service Manager 2012 briefly. In this post I’ll try to describe how they all tie together. As in the last article, all the information and screenshots in this post is from the MMS session “Service Manager 2012 Overview”.

To start with, I would like to describe how the System Center Orchestrator (Opalis) connector can be used.

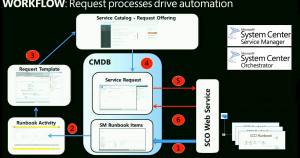
System Center Orchestrator connector

SCO connector

  1. The Service Manager connector will connect to the Orchestrator Web Service to import runbooks into Service Manager.
  2. From these runbooks, an Service Manager administrator can use a console task to create a new custom Activity using the input parameters from the runbook and automatically map these to properties of this new Activity. Without authoring or coding in the authoring tool!
    (Example: You have a runbook that requires the input parameters DiskType and DiskSize. When clicking the console task from this runbook in Service Manager a new custom activity will be created. This activity will have two new, additional properties named DiskType and DiskSize.)
  3. The administrator can now create a Work Item template (CR, SR or RR) which include this new custom activity and present that as a Request Offering on the Self-service Portal.
  4. Now, if an end-user goes to the Self-service portal and creates a Service Request of this type, the custom activity of this work item will get the status In Progress, which will …
  5. … invoke the runbook in Orchestrator by utilizing the Web Service of Orchestrator. The runbook would now start and a workflow …
  6. … within Service Manager could monitor this workflow by using the same web service. When the workflow discovers that the runbook has finished, we could trigger some actions inside Service Manager. (Such as completing the activity/work item).

With this information in mind, let’s move on to a real example. In this example we will take a look at an automated Self-service Request where our end-user is requesting a new virtual machine.

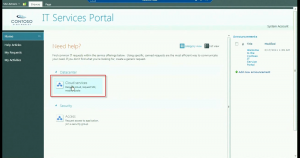
Self-service Portal

SSP1

SSP - Picture 1

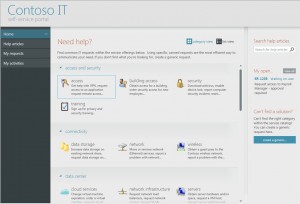
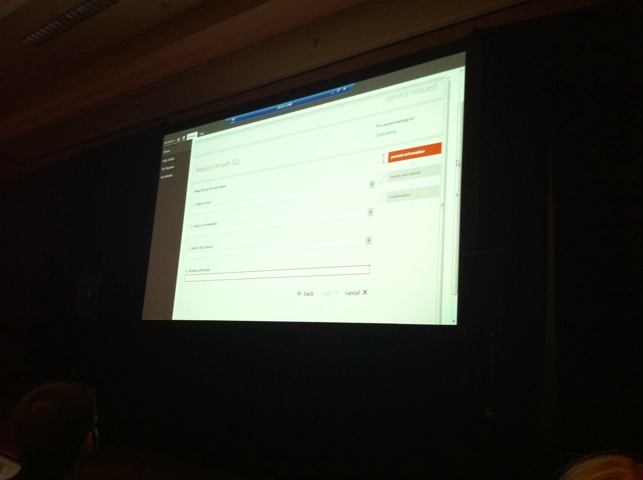
In this first picture, we can see the first page of the Self-service Portal. This is where all your Service Offerings will be presented. All these Service Offerings is created from the Service Manager console by an administrator, and no web-coding is required to make them appear on the Self-service Portal.

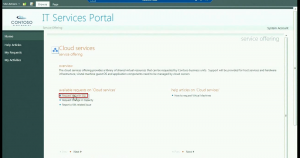
SSP2

SSP - Picture 2

When clicking a certain Service Offering, we will get to the main page of that Service Offering. Here will all the Service Requests and Knowledge Articles related to this Service Offering be presented. Again, no coding required.

SSP3

SSP - Picture 3

This third picture simply displays more information regarding the certain Service Request that was clicked.

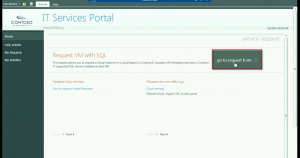
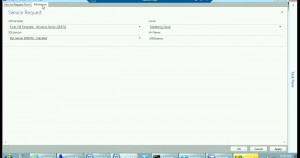
SSP4

SSP - Picture 4

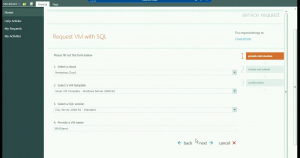
And finally, here is the realted form for this Service Request. This form is dynamically created from the information stored within the Service Request itself. See more details below.

Let’s take a look at all of this from the Service Manager console. To start with, let’s take a look at the Service Offerings.

Service Offerings

Service Offering View

Service Offering View

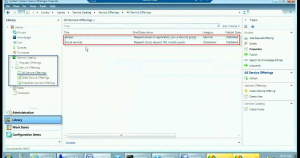
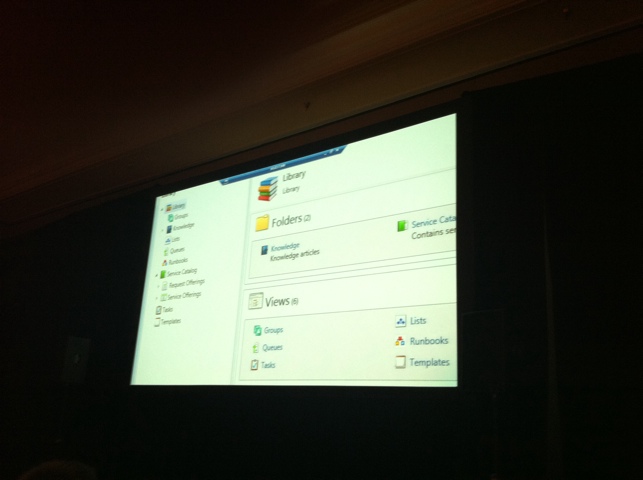
Here you can see that a Service Catalog item has been added under Library. In this particular screenshot the “All Service Offerings” view is loaded, and you can see that we only have two Service Offerings for the moment; “Access” and “Cloud services”. Also note that both of these has the status published, which makes them appear in the Self-service Portal. If you take a look at the first picture of the Self-service Portal set above, you can see that this is exactly what your users will see.

Service Offering General

Service Offering, General

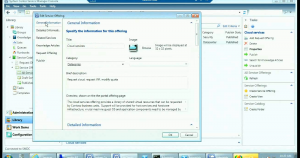
Above you can see the General settings of the Service Offering named “Cloud Services”. All the information on this tab used on the Sef-service Portal and can be seen in the previous screenshots. (Except for the Image, but that is a bug in the build that was used to demo during the session).

Service Offering Request

Service Offering, Request Offering

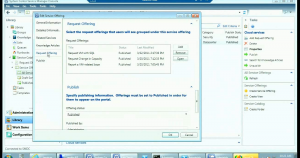
The last picture displays the Request Offerings related to this particular Service Offering. And this leads us to:

Request Offerings

So a Request Offering is a request bound to one or more Service Offerings. Just like the Service Offerings dialog above, the Request Offerings have several fields for information that will be displayed on the Self-service Portal, but whats unique with the Request Offering, is this.

Request Offering User Prompts

Request Offering User Prompts

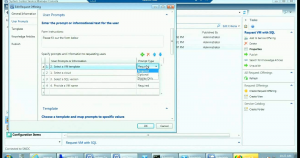
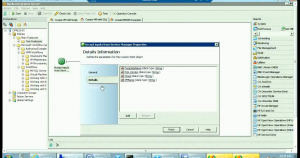
In this part of the Request Offering dialog, you will be able to enter questions that will be displayed when clicking the corresponding Request Offering in the Self-service Portal (in this case, we are looking at the “Request VM with SQL” Request Offering). You can also define whether these questions is Required, Optional or Informational. Again, take a look at the screenshots of this Request Offering earlier in this post, and you will understand how it all works together.

Request Offering Mapping

Request Offering Mapping

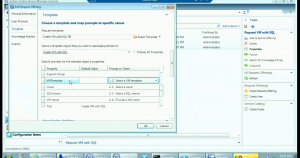
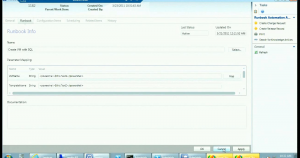
Here we can see how each question is mapped to a property of the selected template. This information together with the User Prompts is what will create the dynamic form seen in the Self-service Portal. If we are storing a question in an enum property, that will show up as a list picker in the Self-service Portal, only allowing users to pick answers from that particular enum-list.

Service Request

Allright, let’s go back to that particular Service Request that we did at the Self-service Portal and take a look at that inside the console.

Service Request

Service Request

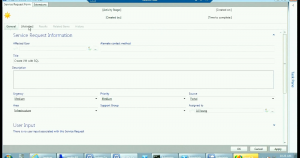
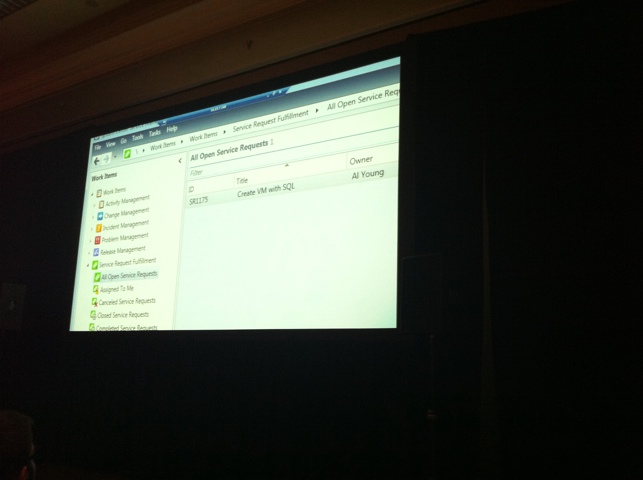
Here we can see some basic information around the Service Request. We could (and should) have stored more information in the template and/or created more mappings in the Request Offering to be more detailed.

Service Request Activities

Service Request Activities

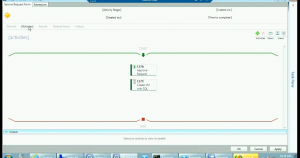
Here’s the activities related to this Service Request. As you can see there is two activities assigned to this Service Request; one Review Activity that is used for notification and to request an approval, and one Runbook Activity that will invoke an Orchestrator runbook.

Service Request Extensions

Service Request Extensions

On the extension tab we can see that the answers that was provided to the Request Offering on the Self-service Portal is stored.

Runbook Activity and Orchestrator Connector

So a Runbook Activity, is based upon a Runbook brought over to Service Manager by the Orchestrator Connector. As I described first in this post, you can create custom activities based upon these runbooks.

Orchestrator Runbook

Orchestrator Runbook

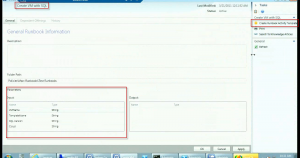
Here’s what the runbook looks like in Orchestrator. The dialog that’s opened displays the input parameters required for the runbook to beeing able to start.

Runbook

Runbook

This is how it looks like inside Service Manager. Also note the task named “Create Runbook Activity Template”. When clicking that task, a new Runbook Activity is created. Basicly, the thing that differs this activity from other activities…

Runbook Activity

Runbook Activity

… is the Runbook tab. This is where the mappings between Service Manager and Orchestrator is defined.

Service Request – again

Let’s go back to that Service Request again. As you remember, we had an Review activity in our Service Request that needed to be approved before the Runbook Activity would start. So let’s say we did that approval and the Runbook Activity went into “In Progress”. What would happend then, is that Service Manager would invoke the runbook inside Orchestrator, using the Orchestrator web service and the parameters/properties from our activity.

Service Request Log

Service Request Log

When this has happend, our Service Request would get updated with two comments in the Action Log. One that’s telling us that the runbook was invoked, and another one telling us with what parameters.

This runbook would now run inside Orchestrator and when it’s done, it would update the status of the activity to completed; which would trigger an internal workflow inside Service Manager that would set the status of the Service Request itself to completed aswell.

Summary

Allright. I hope you did get some better understanding on how all these new functions and features will work in Service Manager 2012. I’m very thrilled about the new Self-service Portal and how we can integrate with Orchestrator to automate as much work as possible. The possibility to create Service Offerings in a Service Catalog from the Service Manager console and present all this on a Self-service Portal that doesn’t require any coding at all is a Wonderful feature that I know everyone will appreciate. I find it safe to say that if the Self-service Portal is as good as it looks at the moment, it will be deployed and used in every Service Manager 2012 installation.

Please comment if anything is unclear or if you have some questions.

What’s new in Service Manager 2012 – Part 1

March 30, 2011 Posted by Anders Asp

So MMS was last week and loads of new information regarding Service Manager 2012 was released.

This is what we know so far:

Planned public beta: Q3, 2011
Planned release: Q4, 2011

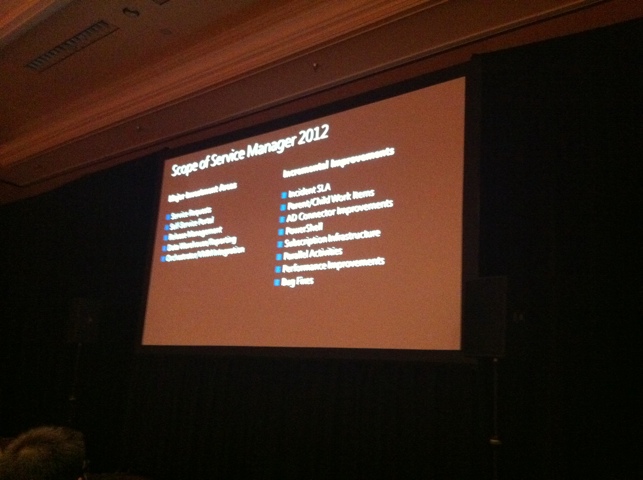
Major Investment Areas

  • Service Requests
  • Self-Service Portal
  • Release Management
  • Data Warehouse/Reporting
  • Orchestrator(Opalis)/VMM Integration

Incremental Improvements

  • Incident SLA
  • Parent/Child Work Items
  • AD Connector Improvements
  • Powershell
  • Subscription Infrastructure
  • Parallel Activities
  • Performance Improvements
  • Bug Fixes

Let’s go through all these one at a time:

Service Requests

Service Manager will now support the Service Request process that’s been requested since beta. Solutions like this: http://scsmservicerequest.codeplex.com/ won’t be necessary anymore. By the look, Service Request is pretty similar to a Change Request and is also focused around activities. I’ll provide some more information on how a Service Request can be used in part 2 of this post.

Service Request Views

Service Request Views

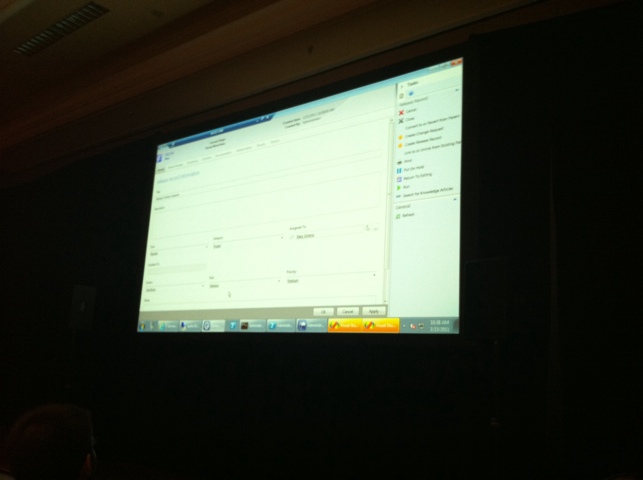
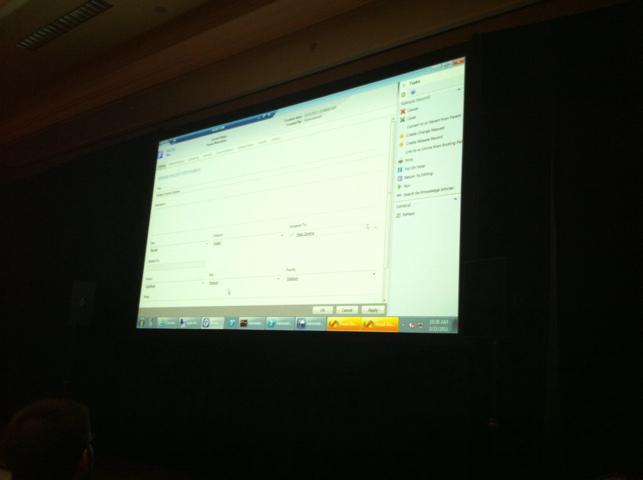
Service Request Form

Service Request Form

Self-Service Portal

The Self-Service Portal in SCSM 2010 is really limited and Microsoft has gotten plenty of complaints and negative feedback on it. That’s why they decided to create an entirely new Portal based on SharePoint 2010 and Silverlight. This new portal has many of the requested features that the old one didn’t have, such as the simple function to allow end users to post comments on their own active Work Items. The layout and functions on the portal itself is based upon a Service Catalog and is defined from within the console. Another useful function is that you can configure different security setting depending on which role the user is member of. More details on the Self-Service Portal in part 2 of this post.

Microsoft has also written custom SharePoint webpart controls, that allows easy customization for all Service Manager related webparts.

The new Self Service Portal

The new Self Service Portal

Self Service Portal Customization

Self Service Portal Customization

Release Management

Just like the Service Request, this is a new process that Service Manager now is supporting. A Release Record has a close relationship with a Change Request and the Work Item itself is focused around activities.

Release Record Form

Release Record Form

Data Warehouse/Reporting

In SCSM 2012 you will be able to gather data from SCCM, SCOM, SCSM and custom sources (such as SAP or HR) to the same Data Warehouse. By defining OLAP cubes within SCSM you can easily create reports by drag and drop in Sharepoint or Excel. The goal is to make reporting as codeless as possible.

OLAP Cubes

OLAP Cubes

Sharepoint report

Sharepoint report

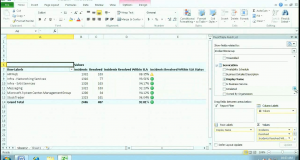
Excel PowerPivot Report

Excel PowerPivot Report

Orchestrator(Opalis)/VMM Integration

Two new connectors are available in SCSM2012; the Orchestrator and the VMM connector. The Orchestrator connector is used to import runbooks from Orchestrator so these can be used from within SCSM. The VMM connector imports information on different clouds and VM templates so these can be used when creating Service Offerings in the Service Catalog. More on how these new connectors are used in part 2.

Orchestrator Runbooks

Orchestrator Runbooks

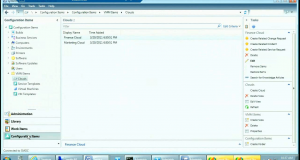
VMM Clouds View

VMM Clouds View

Incremental Improvements

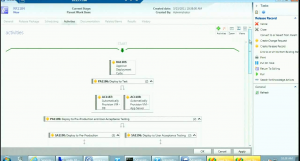
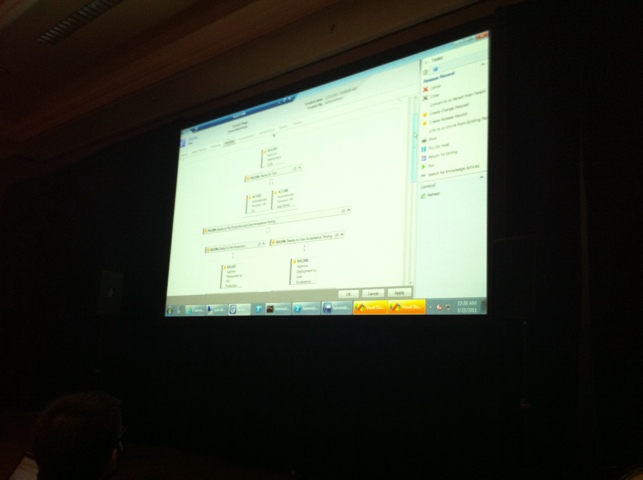
Unfortunately, almost no information has been released regarding these improvements yet with one exception. That exception is maybe the most important incremental improvements, and is used in Service Request and Release Records. I’m of course talking about the parallel activities. You can now group several activities into a parallel activity group. This parallel activity won’t be completed until all activities within it have been completed. Sounds complicated? Well, it isn’t. Just take a look at the picture and you’ll understand.

If the parallel activities will work within a Change Request is still unclear, but we do know that the look and feel in the activities tab for a Change Request will remain the same as it is now.

Parallel Activities

Parallel Activities

In the next part of this blogpost, I’ll try to explain how several of these new features and functions ties together.

Disclaimer: All the information and screenshots are from the session named “Service Manager 2012 Overview” that were presented in MMS2011. Remember that all pictures is from an early build of SCSM 2012.

Service Manager 2012

March 23, 2011 Posted by Stefan Allansson

Today it was a session about next release, Service Manager 2012.
It was very cool and I want it right now! 🙂
There will be a public Beta in Q3 and RTM Q4.

Some of the new things are:
– A new Self-service portal on Sharepoint 2010 that runs Silverlight
– Connectors for Virtual Machines and Orchestrator
– Service Request Management
– Release Management
– Parallel Activities in a Change Request, Incident Request and Release Management
– Improved Reporting with OLAP cubes that makes it easier to customize your reports

Service Manager 2012 pictures

March 23, 2011 Posted by Anders Asp

Here’s a couple of pictures from the Service Manager 2012 Overview session some hours ago. I know the quality is bad and I’ll try to get some better screenshots later on today. Stefan is writing a post with some information related to Service Manager 2012, he will post it shortly.

20110323-143116.jpg

20110323-143131.jpg

20110323-143141.jpg

20110323-143148.jpg

20110323-143200.jpg

20110323-143214.jpg

20110323-143228.jpg

20110323-143236.jpg

20110323-143246.jpg

MMS Keynote (updated)

March 22, 2011 Posted by Anders Asp

Here’s a short update from MMS.
– Opalis new name was announced: System Center Orchestrator
– New product announced: System Center Advisor.
For information and download link for RC release, see: http://www.microsoft.com/systemcenter/en/us/Advisor.aspx

Quote from the link above:
Q: What is System Center Advisor
A: System Center Advisor (formerly named Microsoft Codename Atlanta) is a cloud service that enables IT pros to assess their server configuration and proactively avoid problems, while helping support staff to resolve issues faster by accessing current and historical configuration data, all with the security features that meet their needs. Additionally, System Center Advisor reduces downtime by providing suggestions for improvement, and notifying customers of key updates specific to their configuration.

– New product announced: System Center codename “Concero”
Concero is a product for managing one or more private or public clouds. Integrated with Xen, ESX and Hyper-V.

– The new Selfservice Portal for SCSM vNext was displayed in a slide very quickly. I’ll try to get a screenshot of it to upload for you guys at home.

MMS 2011

March 10, 2011 Posted by Anders Asp

Hello!

I know it’s been a while since we posted now, but both me and Stefan is out on the field helping customers implementing SCSM atm. However, I just wanted to inform you all that Stefan and I is going to MMS 2011 in Las Vegas in a couple of days! Five days packed with great sessions and loads of SCSM!

Are you going to attend aswell? Post a comment! 🙂